visit madeit.com.au/GraceDesigns

...............................................................................................................................

The bunting template I made is ridiculously easy I know but now you have an extra 5-10 minutes to enjoy a coffee or flick through your favourite magazine instead of deciding on what measurements to use! Of course, do whatever works for you but I liked the dimensions of the smaller triangle shown.
Materials
- 5m of 1 inch wide bias tape (buying off the roll is cheaper)
- 1m fabric (I used 3 different types of cotton)
- cotton thread
- Cardboard for template
- Download template PDF
Instruments
- Tailors chalk
- Rotary cutter
- cutting mat
- Scissors
- Ruler
- Pins
Step 1
Cut out preferred triangle/flag size, trace and transfer to heavy cardboard, cut out.
Step 2
Mark 36 single triangles or 18 double sided triangles with tailors chalk onto your fabric.

Step 3
Cut out triangles with rotary cutter on your mat (there are plenty of video's on U-Tube re: using a rotary cutter if you are a virgin user).
Step 4
Lay out your triangles, working out your pattern if you are using more than one pattern / colour material.
Step 5
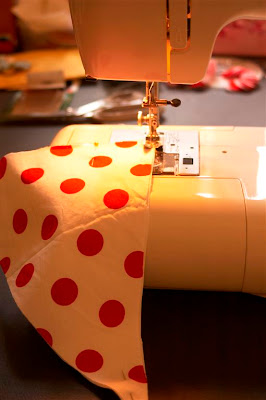
Match wrong sides together and sew down both left and right sides of your triangles (making them double-sided). I did a simple zig zag down both 26cm sides and left the 19cm top-stitched. (You could also cut them out with pinking shears at step 3 and straight stitch down the sides instead).

Step 6
Lay out your 5m of bias tape, finding the middle and marking it with tailors chalk or a pin.

Step 7
Working from the middle of the bias tape out to the ends, space your triangles approx 4.5cm apart folding the bias tape in half to secure the 19cm edge of the triangle in the tape and pin (the point of the triangle being opposite to the bias tape). I left 45cm at both ends for ties.
Step 8
Sew the triangles into the folded bias tape using a simple straight stitch. FINISHED - hang and admire your handiwork!
Variations - sew/applique letters onto your triangles for kids door signs or happy birthday banners etc.................................................................................................................................
This tutorial was first published on April 8, 2009 on Grace Designs blog

This has been a great help - thank you so much.
ReplyDelete